This Guide will help you to add Image.
Drag and Drop Image
- Drag and Drop Image from left side Widget panel as shown in image below.

Insert Media
- When you Drag and Drop Image it will open Insert Media window as shown in image below.
- Here you can select image from Media Library or you can upload Image by clicking on Upload Files.
- You can also give URL of Image by clicking on Insert From URL as shown in image below.
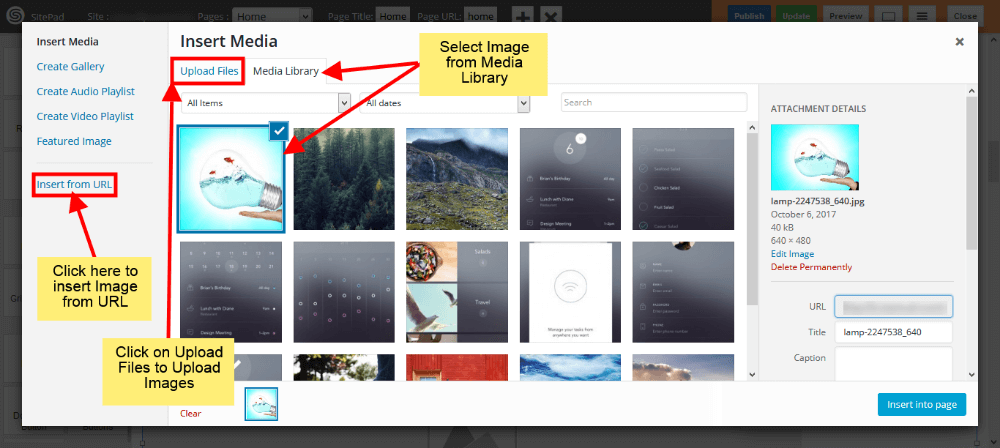
Image Size
- Once you have selected image you can see Dialog Box for Image.
- Here you can Select or Replace Image if you want as shown in image below.
- Select Image size from different options, you can also give Custom size, for that you need to select Custom option and then enter Width and Height(eg. 100×100).
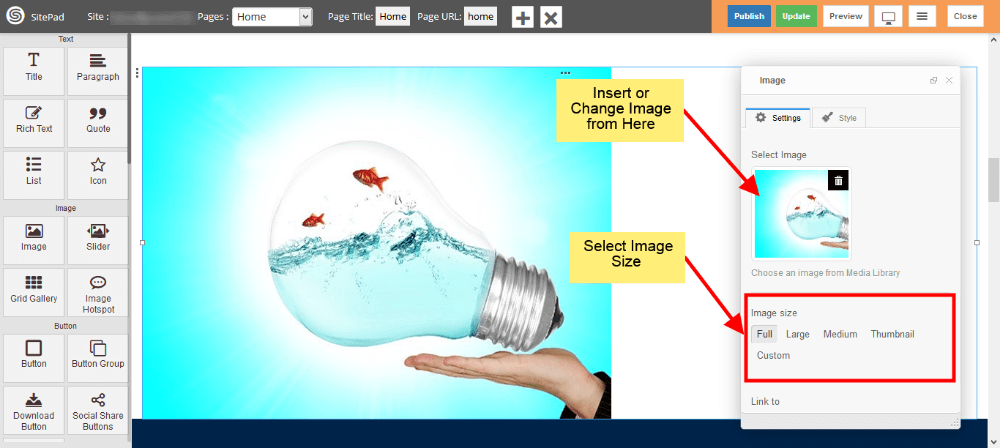
Image Link
- Now select how you want to link your image by using Custom URL , Media File or Lightbox.
- Give link if you select Custom URL or Media File in Link to section. If Don’t want to attach image with link then leave it as blank.
- If you want to open link in New Tab then Check the box shown in image below.
- If you want to Show Image Caption then check Show Image Caption box.
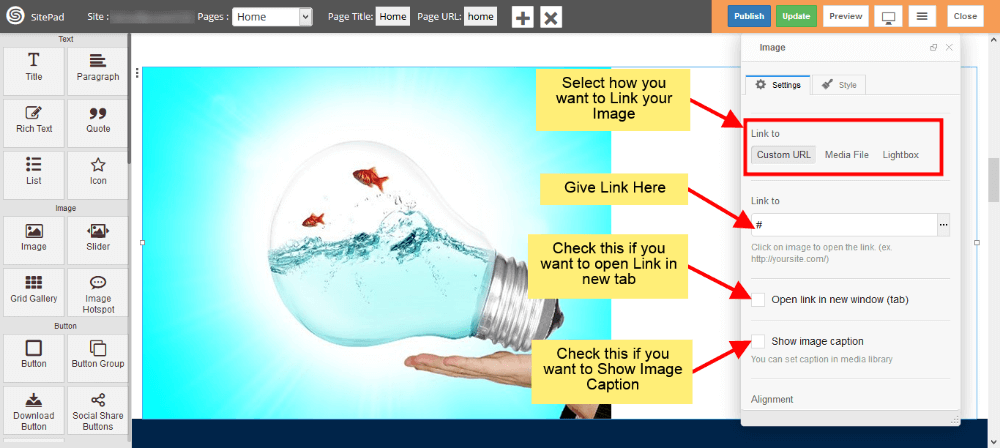
Image Alignment
- Select Alignment for image as shown in image below.
- If you want overlay over image then check the Overlay Hover Effect box. This effect will show up when Hover on image in website.
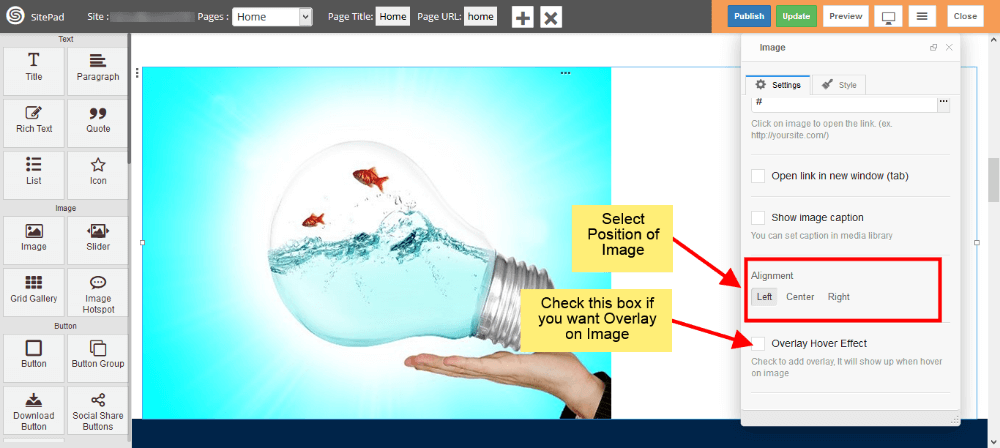
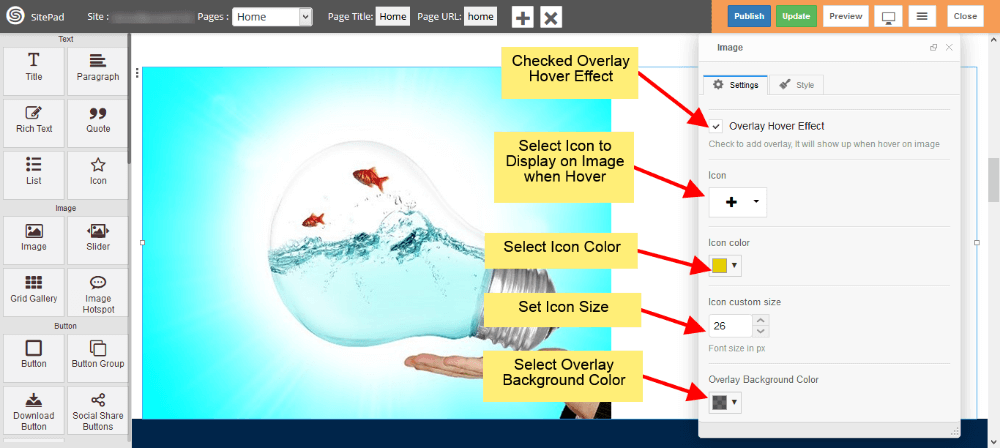
Image Overlay
- If you want to add overlay over image then first check Overlay Hover Effect Box as shown in image below.
- Now select Icon to display over image.
- Select Color and Size for that Icon.
- And in the end select Background color for Overlay as shown in image below.
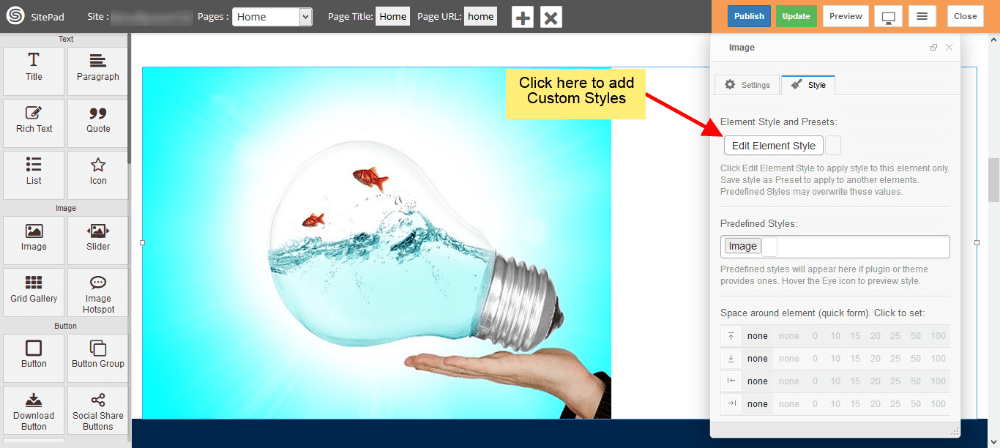
Custom Style
- You can add your Custom style by clicking on Edit Element Style as shown in image below.