This Guide will help you to add Service Box.
Drag and Drop Service Box
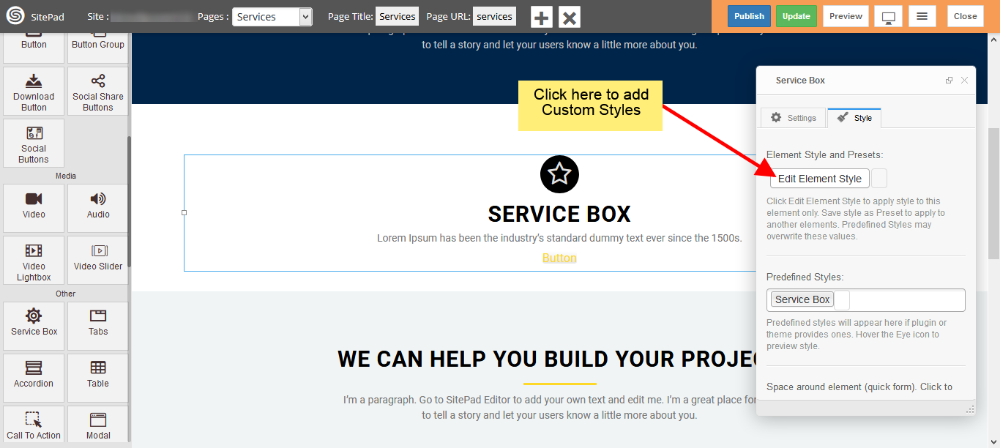
- Drag and Drop Service Box from left side widget panel as shown in image below.
- Now in Dialog Box of Service Box you can Customize Service Box.
- Select Content Style of your Service Box as shown in image below.
Service Box Media Type
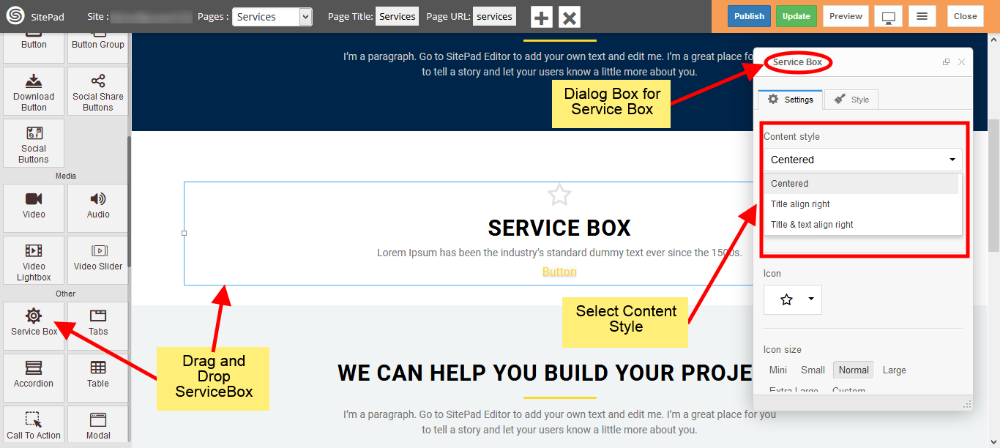
- Select Media type you want to display in your Service Box. We have selected Font Icon.
- As we selected Font Icon we need to Provide Icon as shown in image below. You need to provide image if you select Image Icon or Wide Image.
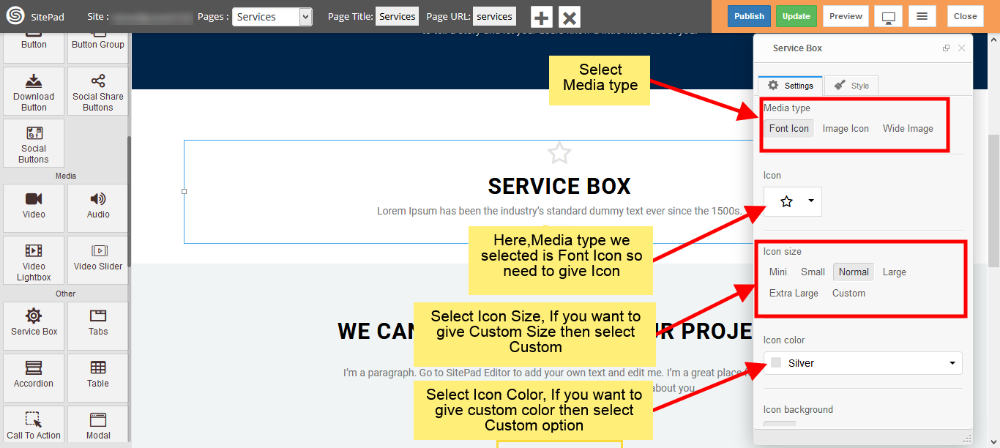
- Also provide some different properties for your media type like Color, Size etc as shown in image.
Service Box Content
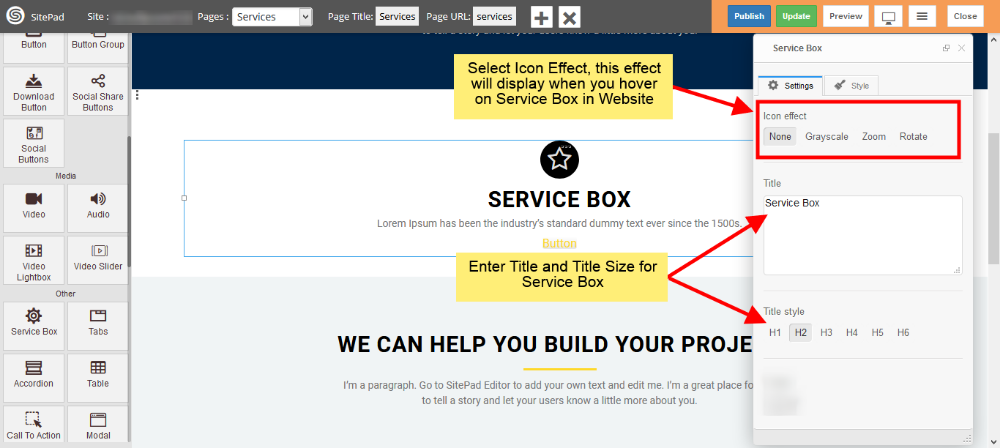
- Enter Service Box Title and give Size for Title as shown in image below.
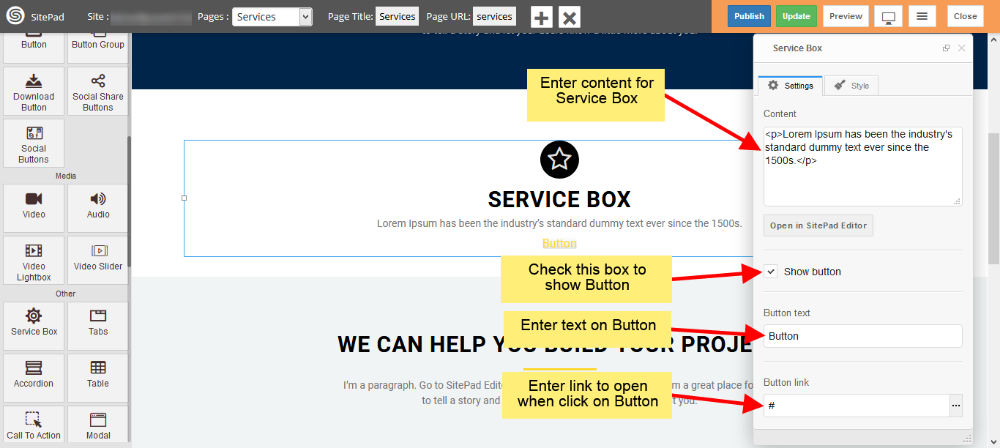
- Enter content of your Service Box in Content section.
Button
- Check the Show Button box to show Button in your Service Box as shown in image below.
- Next enter text to Display on Button and Link if you want go to other page on Button Click.
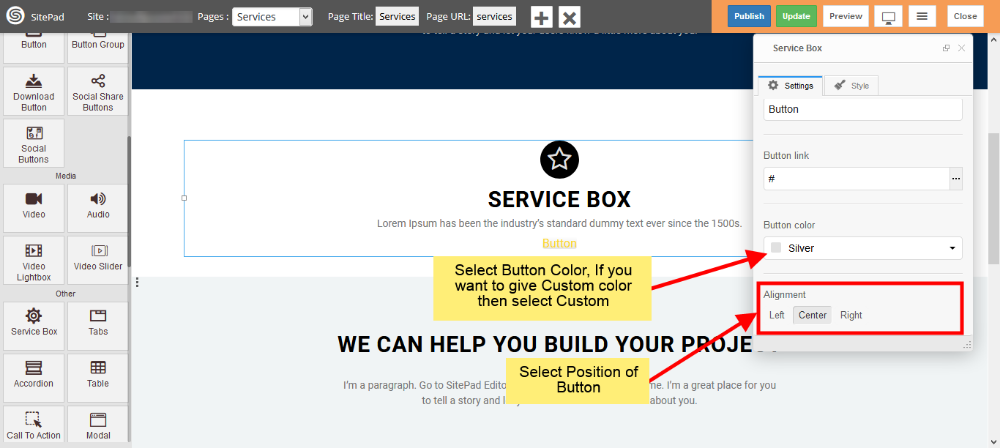
- Select Button color from Predefined options or you can give Custom color by selecting Custom as shown in image below.
- Select position for Button inside Service Box from Alignment section.
Custom Style
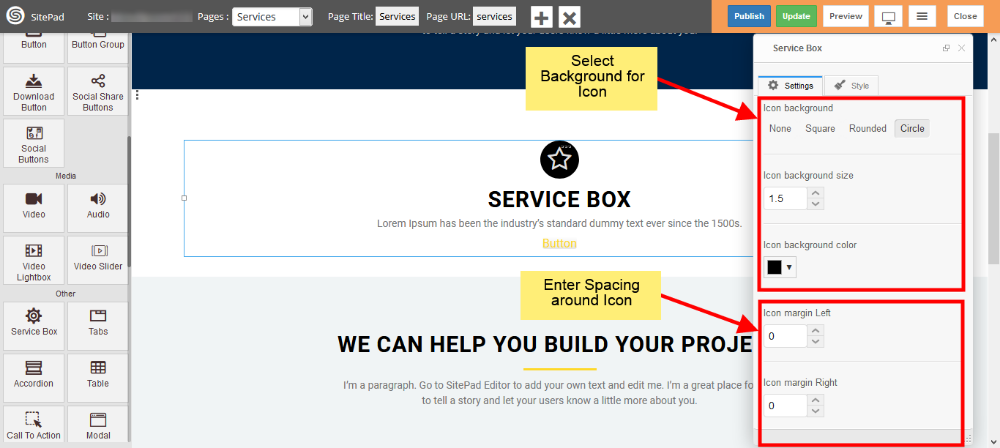
- Click on Edit Element Style to add Custom styles as shown in image below.
